Tag: Windows Handheld

  • How to Set Up Your SD Card as a Game Cartridge

    How to Set Up Your SD Card as a Game Cartridge

    A step-by-step guide for ROG Ally, Legion Go, and other Windows handhelds


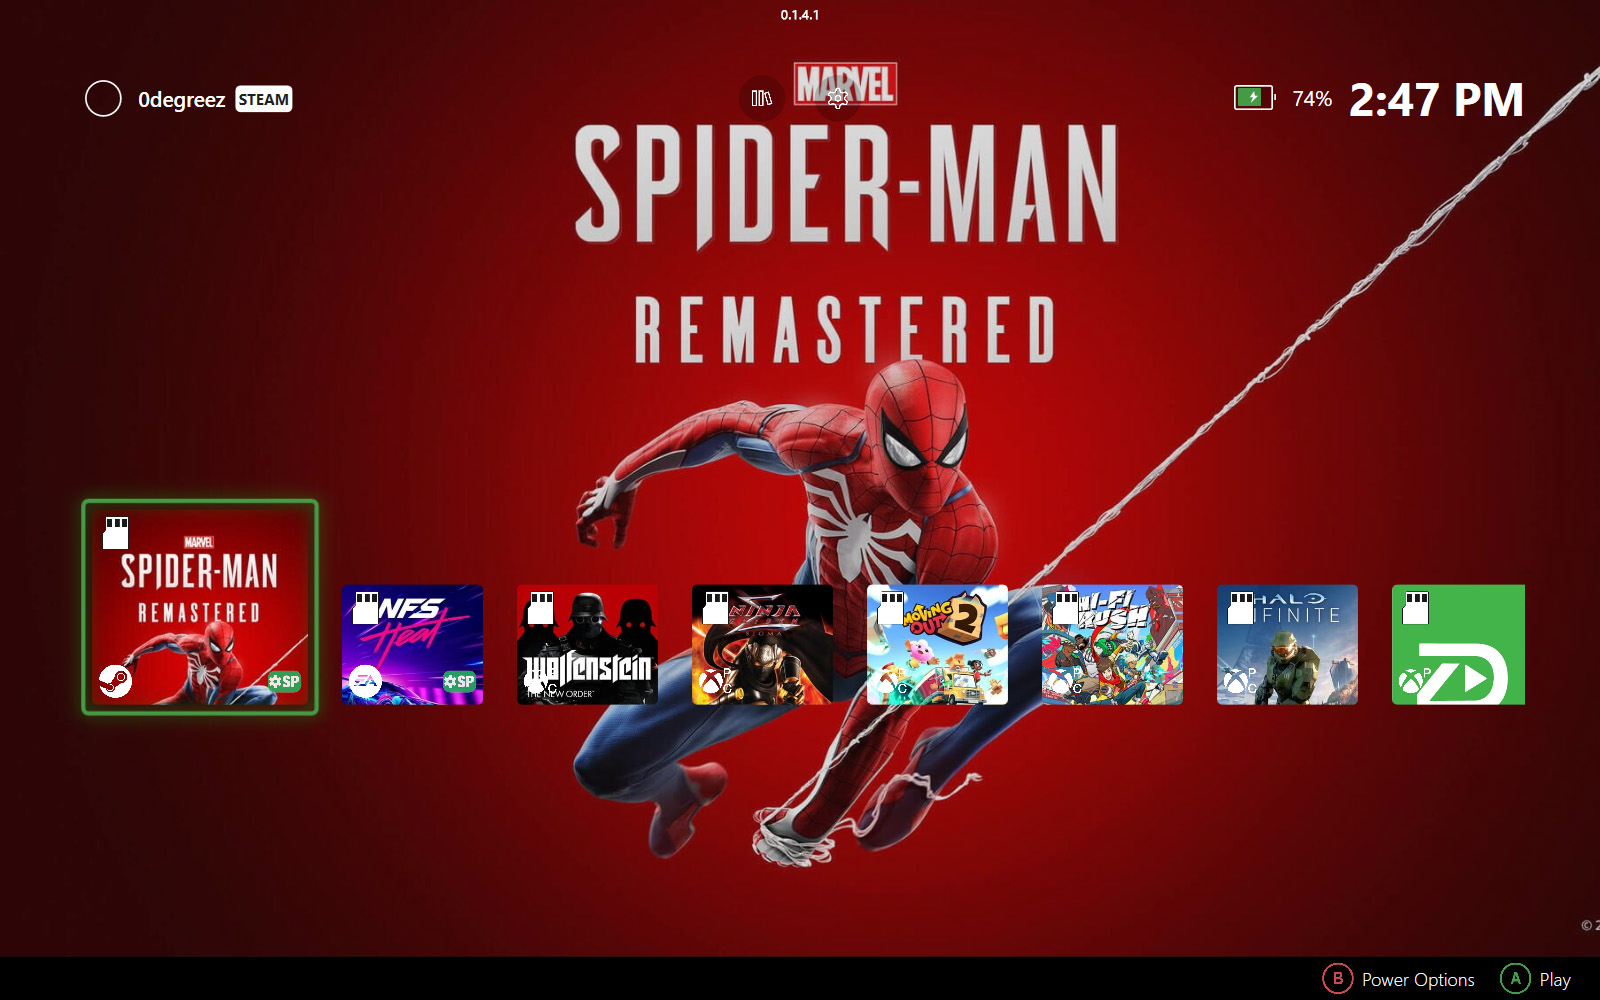
    ZenDeck treats your SD cards like Nintendo Switch cartridges — insert a card and your games appear instantly, remove it and they disappear cleanly. No manual setup every time, no leftover entries in your library.

    This guide walks you through setting up an SD card for the first time so ZenDeck can recognize it automatically from that point on.

    What You Need

    •  An SD card (any size) formatted as NTFS or exFAT

    •  ZenDeck installed and running

    •  Games installed via Steam, Xbox/Game Pass, Epic, or EA App

    💡 One-time setup per card
    You only need to follow these steps once per SD card. After that, ZenDeck recognizes the card automatically every time you insert it.

    Setting Up with Steam

    Steam requires an extra step before you can install games to an SD card: you need to register the card as a Steam Library location. This is a one-time action per card.

    Step 1 — Register the SD card in Steam

    1.  Insert your SD card

    2.  Open Steam and go to — Settings → Storage

    3.  Click Add Drive and select your SD card from the list

    4.  Steam will format and prepare the card as a library location

    Steam Settings Storage screen showing the Add Drive button and two library locations
    Go to Steam Settings → Storage and click Add Drive to register your SD card as a library location.

    Step 2 — Install or move games to the SD card

    1.  In your Steam Library, right-click a game

    2.  Select — Properties → Local Files → Move Install Folder

    3.  Choose your SD card as the destination and confirm

    Or select your SD card as the install location when installing a new game.

    Steam Move Content dialog showing a dropdown to select the target drive and a Move button
    Select your SD card from the dropdown and click Move to transfer the game to it.

    Step 3 — Scan in ZenDeck

    1.  Open ZenDeck

    2.  Go to — Settings → Library → Scan Now

    3.  ZenDeck will detect the SD card and register it automatically

    That’s it. The card is now recognized. Next time you insert it, your games will appear in the library right away.

    ⚠ Steam only works with registered drives

    If you skip Step 1, Steam won’t let you install or move games to the card, and ZenDeck won’t be able to detect those games. Always register first.


    Setting Up with Xbox / Game Pass, Epic, or EA

    These stores don’t require any extra registration step — you can install or move games directly to the SD card.

    1.  Insert your SD card

    2.  Install a game and choose the SD card as the install location,

            or move an already-installed game:

    •  Xbox / Game Pass: select the game → Manage → Move

    •  Epic Games: Library → right-click game → Move

    •  EA App: Library → right-click game → Move Game

    3.  Open ZenDeck and run a Library Scan

    Settings → Library → Scan Now

    Xbox app Choose a drive dialog showing a drive selector and a Move button to transfer a game to a different location
    Select your SD card from the list and click Move to transfer the game to it.

    ⚠ Xbox / Game Pass games are device-specific

    Game Pass licenses are tied to your device. Games moved to the SD card will only work on the same handheld they were installed on — you’ll see a warning in ZenDeck if you try to play them on a different device.


    Adding or Removing Games Later

    Any time you add or remove games from the SD card, just run another Library Scan in ZenDeck. The library will update to reflect the current contents of the card.

    •  Added a new game to the card → Scan Now

    •  Deleted or moved a game off the card → Scan Now

    •  No scan needed when simply inserting or removing the card to the device

    Using Multiple SD Cards

    Each SD card is treated as an independent cartridge with its own identity. Repeat the setup process for each card you want to use — register it (Steam only), install games, and run one scan.

    After that, ZenDeck handles everything automatically based on which card is inserted.

    💡 Label your cards

    Consider naming each card by genre or platform (e.g., “RPGs”, “Xbox Games”) so you always know which one to grab. You can also make a custom cover for your SD card case — check out Your SD Cards Are Now Game Cartridges →.


    Quick Reference

    StoreExtra step needed?Portable across devices?
    SteamYes — Add Drive in Steam Settings✅  Yes
    Xbox / Game PassNo⚠  Device-locked
    Epic GamesNo✅  Yes
    EA AppNo✅  Yes

    For Windows handhelds

    Ready to try it?

    ZenDeck turns your SD cards into instant game cartridges — insert and play, no setup every time. Built for ROG Ally, Legion Go, and Windows handhelds.

    Download ZenDeck →
  • Your SD Cards Are Now Game Cartridges

    Your SD Cards Are Now Game Cartridges

    Here’s how I built a Switch-like experience on my handheld…

    One thing that always bothered me about Windows handhelds is how unstructured the experience feels compared to a real console.

    I have games installed across multiple SD cards. And every time I inserted one, I had to rescan everything from scratch — waiting, waiting, waiting — just to see which games were on it. And if the card wasn’t inserted? The game just wouldn’t launch. No explanation. No visual feedback. Nothing.

    What surprised me is that no launcher — not Steam, not the Xbox app, not any third-party tool — actually solves this cleanly. So I built something different.

    The idea: treat SD cards like Nintendo Switch cartridges

    On a Switch, you insert a cartridge and the game is just there.

    This is how that idea translates into a PC handheld:

    PC handheld launcher UI showing SD card-based game cartridges with icons indicating games stored on the same SD card
    Each icon represents a “cartridge” — grouping games that live on the same SD card.

    You swap it and the context changes instantly. That’s it. No rescanning. No waiting. No confusion.

    I wanted that exact feeling on my ROG Xbox Ally X and Legion Go — except with one key difference: my SD cards can hold multiple games. So I needed the whole library to update the moment a card is inserted or removed, not just one title.

    That’s what I built into ZenDeck.

    How it works

    Each SD card gets a hidden identity file — a small manifest stored at the root of the card that tells ZenDeck exactly which games live on it and what device they came from.

    The first time you insert a card into a device, there’s a small one-time setup: add the card as a storage location in Steam, then run a library scan in ZenDeck. That’s it — ZenDeck stores everything it finds. After that:

    Here’s what happens when you insert or remove an SD card:

    • Insert the card → games appear instantly at the top of Recent, marked with a cartridge icon. Steam and Xbox titles alike.
    • Remove the card → those games drop out of Recent and go visually dimmed in the library. Still visible, just clearly unavailable.
    • Swap to another device → insert the card, do the one-time setup — add it in Steam, run one library scan in ZenDeck — and from that point forward it’s fully automatic on that device.

    No launcher I’ve seen does this. Steam dims the title. The Xbox app hides it entirely. Neither one tells you why or where the game is.

    PC handheld game library showing games dimmed or unavailable when the SD card they are installed on is not inserted
    When the SD card isn’t inserted, games become dimmed or unavailable.

    The cartridge system adds that missing structure — it makes removable storage feel like a first-class part of the experience instead of an afterthought.

    The part I didn’t expect to love: physical covers

    Once the cartridge system was working, I realized the concept deserved something physical to match.

    So I designed printable covers for the SD card cases — styled like Nintendo Switch game boxes, sized exactly to fit (4.1 × 5.2 cm). Each cover shows the actual game artwork of every title stored on that card.

    Two layouts depending on how many games you have:

    Up to 4 games — 2×2 grid layout

    Here’s what a finished cover looks like:

    Printable SD card cartridge cover showing a 4-game layout with Cyberpunk 2077, Cult of the Lamb, God of War, and Spider-Man Miles Morales
    Example of a 4-game SD card cover — you can customize this template with your own games.

    5 or more games — hero + list layout

    If your SD card has more games, this layout scales much better:

    Printable SD card cartridge cover with a hero game and multiple smaller game thumbnails for large game libraries
    Layout for larger libraries — one featured game with the rest displayed below.

    The covers are made in Canva. I’m sharing both templates publicly so you can make your own — with your games, your SD cards.

    How to get your own copy:

    1. Create a free Canva account at canva.com if you don’t have one already
    2. Open the template link for your layout:
    3. Once open, go to File → Make a copy — this creates your own editable version without touching the original
    4. Replace the game images with your own (Steam cover art is available at cdn.cloudflare.steamstatic.com/steam/apps/[APP_ID]/header.jpg)
    5. Update the SD capacity text in the top bar
    6. Export as PDF for print and print on photo paper or glossy sticker stock

    Note: You need to be logged into your Canva account for the “Make a copy” option to appear. If you open the link without being logged in, the option won’t show up.

    Why this matters beyond the cool factor

    This isn’t just aesthetic. It solves real friction:

    What happens nowWhat happened before
    One-time setup per device, then insert card → games appear instantlyEvery single insert: rescan everything
    Remove card → library updates in real timeRemove card → games fail silently
    Swap devices → one-time setup, automatic forever afterSwap devices → start over every time
    Physical cover shows what’s insideNo way to know without checking
    Two SD card cases with printed cartridge-style covers showing game artwork, inspired by Nintendo Switch cartridges
    Physical SD cards labeled like cartridges — you can instantly see what’s inside without plugging them in.

    This ended up being one of my favorite parts of the whole system.

    The cartridge metaphor works because it maps to something people already understand intuitively. You don’t need to explain it. You just insert the card and it works.

    What this feels like in practice

    I keep a 256 GB card with Cyberpunk 2077, God of War, Spider-Man: Miles Morales, and Cult of the Lamb. I keep a 512 GB card with 12 more. When I want to switch what I’m playing, I swap the card. That’s it.

    Fast, physical, and genuinely console-like — on hardware that shipped with a desktop OS and zero of this thinking built in.

    If you’re building for Windows handhelds, rethink not just performance. Rethink how the user interacts with their games. That’s where the real experience lives.

    Ready to set this up?

    If you want to try the SD card cartridge system on your Windows 11 handheld, start here:

    How to Set Up Your SD Card as a Game Cartridge

    How to Install ZenDeck from Scratch (Beginner Friendly Guide)

    Or download ZenDeck directly at zendeck.app